
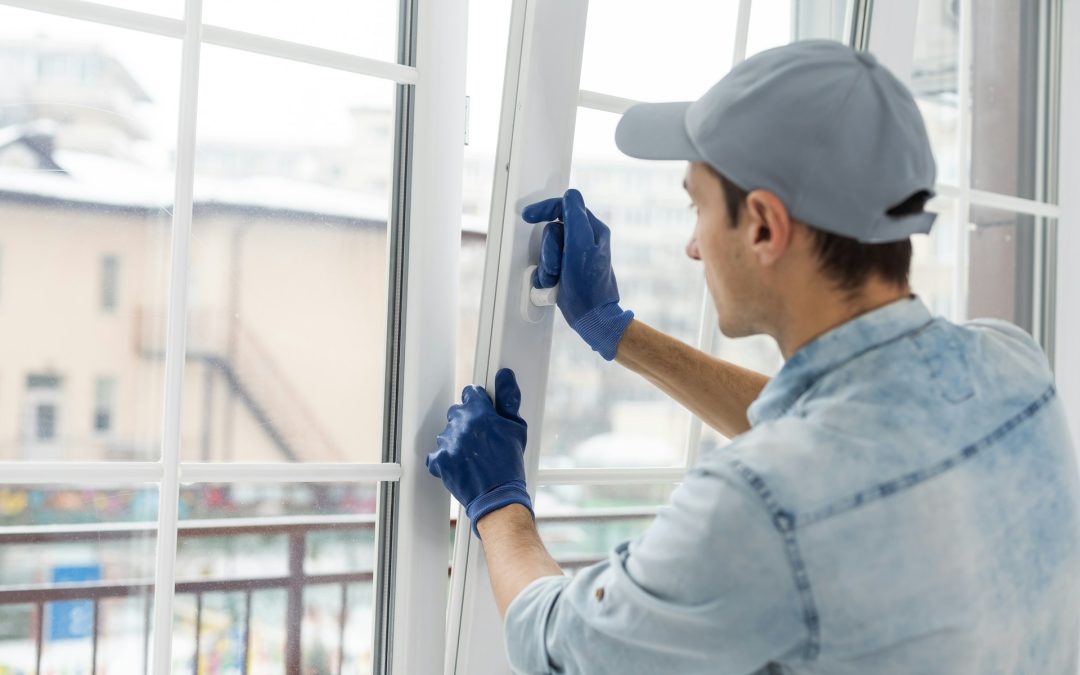
Replacing windows is one of those home improvement projects that can sound more mysterious than it really is. Homeowners often worry about the mess, the timeline, and whether everything will go according to plan. Much of that uncertainty disappears once you understand the steps involved.
This guide walks you through a typical window replacement project, from the first phone call to the final inspection, so you know what to expect when working with a Mansfield-area glass company.
Every home and project is different, so think of this as a general roadmap rather than a fixed schedule.
Stage One: Figuring Out If You Need New Windows
Most homeowners start considering replacement because something about their existing windows is no longer working properly. Common signs include:
- Drafts around closed windows or rooms that never seem to stay comfortable
- Fogging or moisture between the panes of double-pane glass
- Windows that stick, will not stay open, or no longer lock properly
- Rotting, warped, or visibly damaged frames
- Rising cooling bills during a Texas summer
- Outside noise that seems to come straight through the windows
- Furniture, flooring, or curtains fading from strong sunlight
- General wear or a window style that no longer suits your home
Not every problem requires a complete replacement. Sometimes new glass in a structurally sound frame or fresh seals may be enough. In other situations, replacing the entire window is the better long-term option.
A good glass professional will help you understand the difference and explain the available solutions before recommending a larger project.
Stage Two: The First Conversation and Consultation
The process usually begins with a phone call or online inquiry. We will ask a few questions to understand your project, including:
- What type of home or property do you have?
- How many windows are you considering replacing?
- What problems are you experiencing with your current windows?
- Are you interested in a particular style, color, or glass type?
- Do you have a preferred project timeline or budget?
Depending on the project, the next step may be an in-home consultation. This is an opportunity to walk through your home, point out problem windows, and discuss the improvements you want to make.
It is also a good time to ask about window styles, glass options, privacy, safety, and installation expectations.
If privacy is important in certain rooms, explore our guide to pattern and privacy glass options.
Stage Three: Measuring Your Existing Windows
Accurate measurements are essential to a successful replacement. Windows are selected or manufactured to fit specific openings, and even small measurement errors can cause installation problems.
During the measuring process, a professional may:
- Measure the width and height in multiple locations because window openings are not always perfectly square.
- Inspect the existing frame, sill, and surrounding trim.
- Identify special features such as arched tops, bay windows, or large fixed panes.
- Check whether safety glazing may be required near doors, stairs, bathtubs, or other applicable locations.
- Determine whether an insert or full-frame replacement is more appropriate.
This step can take time, but a careful measurement helps reduce problems later. Feel free to ask questions about the existing conditions and what the installer notices during the inspection.
Stage Four: Choosing Your Windows and Reviewing the Quote
Once the measurements and project requirements are understood, you can begin selecting the details of your new windows.
Frame Material
Common frame materials include vinyl, aluminum, wood, and composite. Each offers different appearance, maintenance, durability, and price considerations.
Window Style
Options may include single-hung, double-hung, sliding, casement, and picture windows. The best style depends on your home’s design, ventilation needs, available space, and preferences.
Glass Type and Performance
Insulated glass is commonly used to improve indoor comfort. Low-E coatings can help manage solar heat and ultraviolet transmission, depending on the product specifications.
For a better understanding of glass options, read our guide to tempered, laminated, and insulated glass.
Color, Finish, and Hardware
Consider interior and exterior frame colors, decorative grids, hardware finishes, and other design details that complement your home.
Privacy and Decorative Options
Some rooms may benefit from frosted, patterned, or other specialty glass options that provide privacy while allowing natural light into the space.
Reviewing Your Written Estimate
Before approving the project, you should receive a written quote explaining what is included. Review the details carefully and ask about anything unclear, including:
- Window sizes, styles, and specifications
- Glass type and frame material
- Labor and installation costs
- Interior and exterior trim work
- Removal and disposal of old windows
- Warranty coverage and exclusions
- Estimated project timeline
Window prices vary depending on size, materials, glass specifications, and the number of units. That is why we prefer to assess the home before providing a project estimate.
Visit our window services page for an overview of our available services.
Stage Five: Planning Your Payment
New windows are an investment in your home. Many homeowners prefer to spread out the cost rather than pay for the entire project upfront.
Mansfield Glass & Windows offers 0% financing for qualifying customers, which may make a replacement project more manageable.
Before signing an agreement, make sure you understand the financing terms, eligibility requirements, payment schedule, and any applicable conditions.
You can learn more on our financing page. You may also find our article about using 0% financing wisely helpful when planning your project.
Stage Six: Ordering Your Windows and Understanding Lead Times
Once you approve the quote and finalize your selections, your windows can be ordered.
Delivery times depend on the products and specifications. Standard sizes may sometimes arrive more quickly, while custom dimensions, specialty glass, and certain finishes can take longer.
We work with glass suppliers to coordinate product availability and scheduling. Your team should provide an estimated timeframe and communicate if unexpected supply or scheduling issues cause changes.
While waiting for your windows, you can prepare by:
- Deciding which rooms to prioritize if the project will be completed in phases
- Planning around children, pets, and work-from-home schedules
- Identifying curtains, blinds, and other window treatments that need to be removed
- Discussing any special access or scheduling requirements with the installation team
Stage Seven: Preparing Your Home for Installation Day
A few days before installation, the company should confirm the scheduled date and expected arrival window.
You can help the installation go smoothly by completing these preparations:
- Move furniture and decorations away from each window, leaving enough room for the crew to work.
- Remove curtains, blinds, and nearby wall hangings as discussed with the installer.
- Move fragile items away from the work areas.
- Secure pets in a safe room away from the installation activity.
- Make sure installers can access the exterior of each window.
- Trim or move shrubs and plants that block access, if necessary and safe to do so.
- Discuss any parking, gate, or access instructions before the crew arrives.
Taking a little time to prepare can help protect your belongings and make the installation more efficient.
Stage Eight: What Happens on Installation Day?
On installation day, the crew arrives, introduces themselves, and reviews the work plan with you. The exact process depends on the window type and replacement method, but a typical project may include the following steps:
- Protect the work area: Floor coverings and protective materials are placed to help protect floors, furniture, and nearby surfaces.
- Remove the old window: The existing window is carefully removed. Depending on the project, the installer may use an insert replacement or a full-frame replacement method.
- Inspect the opening: The installer checks for signs of moisture, rot, or damage that could affect the new installation.
- Discuss unexpected problems: If additional damage is discovered, the installer should explain the issue and discuss options before proceeding with extra work.
- Set the new window: The replacement window is positioned, leveled, and secured according to the installation requirements.
- Insulate and seal: Appropriate materials are used to help reduce air and water infiltration around the window.
- Finish the trim: Interior and exterior trim work is completed according to the agreed scope.
- Test the window: The installer checks that the window opens, closes, and locks properly.
Some homes can have several windows replaced in one day, while larger or more complex projects may take longer. The total time depends on the number, size, condition, and type of windows.
Expect some noise during removal and installation. A little dust is normal, although a careful crew should work to keep it under control. Texas heat, rain, and storms can also affect scheduling and installation conditions.
Stage Nine: Cleanup and Removal of Old Windows
After installation, the crew should clean the work areas and remove old windows, packaging, and construction debris according to the agreed scope of work.
Before the crew leaves, take a quick look around the work areas. Check that debris has been collected, protective coverings have been removed as agreed, and the surrounding spaces are reasonably clean.
If you notice anything that needs attention, let the installation team know before the job is considered complete.
Stage Ten: The Final Walkthrough and Inspection
The final walkthrough is your opportunity to review the completed installation with the installer. Take time to check each replacement window rather than rushing through the inspection.
Use this checklist:
- Open and close every window to confirm smooth operation.
- Test the locks and other operating hardware.
- Look for neat caulk lines and properly finished trim.
- Check the glass and frames for scratches, marks, or visible damage.
- Confirm the installed windows match the agreed style, color, and glass specifications.
- Ask about cleaning and ongoing maintenance.
- Review warranty information and any care instructions.
- Request any necessary adjustments or corrections.
Do not hesitate to ask questions or point out something that does not look right. A professional installation team should want you to understand the finished work and feel comfortable with the result.
Keep your contract, receipts, product information, and warranty documents together in a safe place for future reference.
After the Job: Living With Your New Windows
Once the project is complete, you can begin enjoying your new windows. Depending on your home’s previous condition and the products selected, you may notice improvements in indoor comfort, noise levels, and overall appearance.
Results vary based on the home’s construction, existing windows, installation quality, and product specifications, so it is important to have realistic expectations.
Basic window maintenance is generally straightforward:
- Clean the glass with a mild cleaner approved for the product.
- Wipe window tracks to remove dust and debris.
- Keep drainage or weep holes clear where applicable.
- Check seals and weatherstripping periodically.
- Follow the manufacturer’s care instructions for frames, glass, and hardware.
Frequently Asked Questions
How long does a window replacement project take?
The timeline depends on the number, size, and type of windows. Planning, measuring, ordering, and delivery can take longer than the installation itself. Installation may take one day or several days for a larger home or more complex project.
Do I need to be home during window installation?
It is generally helpful to have an adult available to provide access, answer questions, and review the completed work. Confirm the company’s requirements before installation day.
Will window replacement damage my walls or trim?
Some projects may require minor touch-ups or adjustments to surrounding trim. The amount of work depends on the existing window and replacement method. Discuss the expected finish and any additional work before installation begins.
What happens if you find rot or damage after removing the old window?
The installer should show you the affected area, explain the problem, and discuss available solutions. Any additional work or cost should be reviewed with you before proceeding.
Do you replace windows for businesses too?
Yes. Mansfield Glass & Windows serves both residential and commercial customers throughout the DFW area. Learn more about our commercial glass services and browse our project gallery.
Start With a Conversation
Mansfield Glass & Windows is a family-operated, woman-owned, insured glass company with more than 25 years of experience serving homeowners and businesses across the DFW area.
If you are wondering whether it is time to replace your windows, our team can help you understand your options and plan the next step.
Call or text: (817) 473-3909
Visit us: 7489 Rendon Bloodworth Rd, Mansfield, TX 76063
Contact us: Send our team a message
Not sure whether your neighborhood is within our coverage area? Check our DFW service areas.