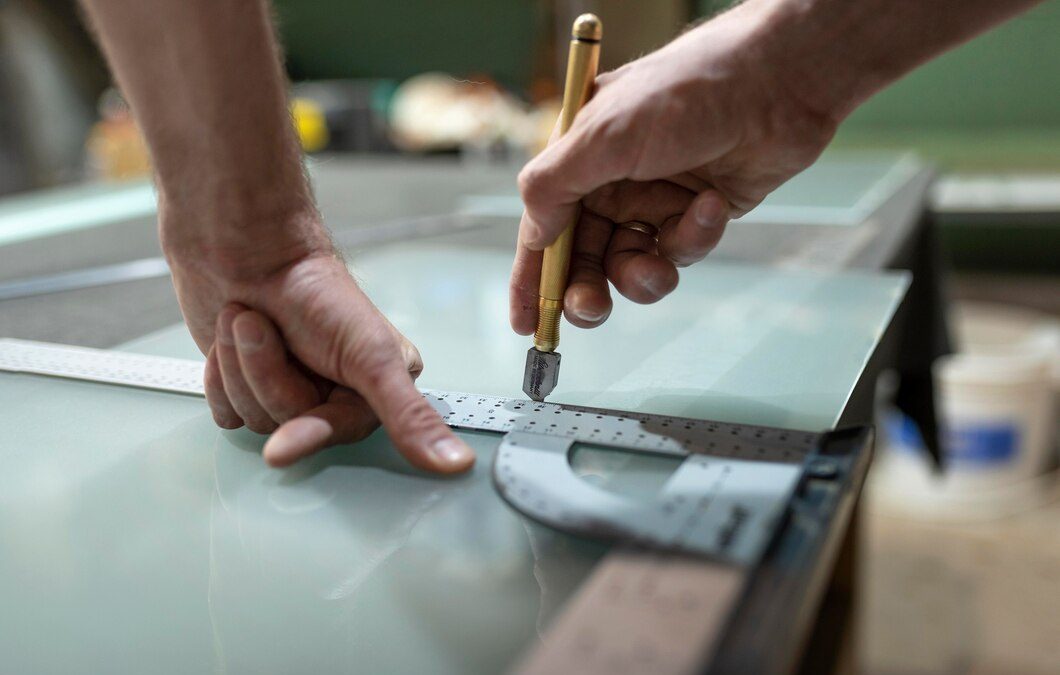
Measuring glass accurately is crucial when planning a custom glass project for your home or office. Whether you’re replacing a window, installing a new mirror, or adding a glass shower door, precise measurements ensure a perfect fit. Incorrect measurements can lead to costly mistakes and delays, so it’s essential to get it right the first time.
Many people find measuring glass intimidating, but it doesn’t have to be. By following a few simple steps and using the right tools, you can measure glass like a pro. Well, we’ll walk you through everything you need to know, from the tools required to common mistakes to avoid. You’ll gain confidence in your measuring skills and be well-prepared for your next glass project.
So, let’s get started on mastering the art of measuring glass!
Tools You Need for Accurate Measurements
Getting the right tools is the first step to measuring glass accurately. The most important tool you’ll need is a tape measure. Make sure it’s sturdy, easy to read, and at least 25 feet long for larger projects. A steel tape measure is usually the best choice because it provides the most accurate results.
Next, have a pen and paper ready to jot down your measurements. It’s easy to forget numbers, so writing them down right away helps prevent mistakes. Consider using a notepad with a grid format to keep everything neat and organized.
A good straightedge or ruler is essential for making precise lines and ensuring even measurements. This tool helps check the straightness of the edges you’re measuring, especially for custom shapes. A carpenter’s square can also come in handy when measuring corners or ensuring right angles.
Leveling tools are important for ensuring your glass is aligned correctly. A bubble level or laser level helps you ensure that your measurements are not tilted or slanted. Using these tools ensures that the glass will fit perfectly and look great when installed.
Step-by-Step Guide to Measuring Glass
Measuring glass accurately involves several steps. Start by measuring the width. Place the tape measure at one edge of the opening, and stretch it across to the opposite edge. Note the measurement down to the nearest 1/16th of an inch.
Next, measure the height. Place the tape measure at the base of the opening and extend it to the top edge. Make sure to keep the tape measure straight and avoid any sagging, which can cause inaccuracies. Write this measurement down as well.
If you’re measuring for a custom shape or pattern, break it down into smaller sections. Measure each section carefully and make detailed notes. This helps ensure all angles and edges are covered. When measuring curved edges or circles, use a flexible measuring tape to follow the contours accurately.
Double-check all of your measurements. Measure each side more than once to confirm accuracy. It’s better to measure multiple times and be sure than to cut once and get it wrong. Remember, precise measurements are crucial for a perfect fit, so take your time and double-check your work.
Common Mistakes to Avoid
Measuring glass may seem straightforward, but even small mistakes can cause big problems. One common mistake is not accounting for allowances. Always leave a small allowance, about 1/8 inch, to ensure the glass fits into the frame without being too tight. Too tight a fit can lead to glass breaking under pressure.
Another mistake is measuring only once. It’s essential to measure each dimension multiple times to ensure accuracy. Write down each measurement and double-check it before finalizing. Sometimes, it’s helpful to have another person verify your measurements to catch any errors you might miss.
Misreading the tape measure is a frequent issue. Make sure you understand the tape measure’s increments and use them accurately. Reading the measurements wrong or misinterpreting fractions can lead to incorrect sizing. Always round down to the nearest 1/16th of an inch rather than rounding up to ensure a proper fit.
Tips for Ordering Custom Cut Glass
Ordering custom cut glass is the final step in your project, and it’s crucial to get it right. First, make sure to provide all measurements clearly and accurately to the glass supplier. Include all dimensions, allowances, and any special instructions for shapes or designs.
Consider the type of glass you need. Different projects require different kinds of glass, such as tempered, laminated, or frosted glass. Check with your supplier to ensure you choose the right type for your specific needs. They’re often willing to offer advice if you’re unsure.
When placing your order, always ask for a confirmation. This ensures that the supplier has understood your requirements and can start working on your custom cut glass. A confirmation can help catch any misunderstandings before the glass is cut, saving time and money.
Measuring Glass with Precision and Ease
Measuring glass accurately is vital for any custom glass project. With the right tools and a careful approach, you can ensure that your glass fits perfectly and looks fantastic. We’ve covered the essential tools, provided a step-by-step guide, and warned about common mistakes. By following these tips, you can avoid costly errors and ensure a smooth installation process.
Whether you’re tackling a small DIY project or a larger renovation, mastering glass measurement is a valuable skill. Taking the time to measure correctly can save you from frustrations and setbacks. Plus, it guarantees that your finished product will meet your expectations and add beauty to your space.
Ready to measure and order custom cut glass for your next project? Visit Mansfield Glass to explore our wide range of options and get the help you need. Contact us today to start your journey toward the perfect glass fit!

